PNG stands out as a standard photo format that is renowned for its transparency feature. This means you can seamlessly add a PNG picture with a see-through background to your poster. What is great about a PNG image is its lossless compression, ensuring both transparency and image quality remain intact while decreasing the file size.
A PNG format always maintains high quality and supports more than 16 million colors. However, there are times when you need to compress a PNG file. Perhaps you’re dealing with a document that is too large for submission requirements, or it is just taking up too much space due to its heavy image content.
No matter what the reason is, having a dependable editing solution can make this procedure very easy. That’s why this article focuses on how to make a PNG file smaller without sacrificing quality.
How Can You Make A PNG File Smaller?
PNG files are well-known for their lossless compression, but they can be quite large in size and take up lots of storage space. That is why many users look for ways to shrink their PNG file size. In this article, we will describe some simple methods to accomplish this.
How Can You Reduce PNG File Size in Paint?
When it comes to making PNG files smaller, Paint often gets overlooked. Even though it’s a basic photo editing tool built into Windows, it can still do the job by altering the image pixels. If you’re thinking about altering the size of your PNG image, Paint is a great option. It is very easy to use. You can also crop your PNG pictures into various shapes, add text, draw, and rotate your PNG images with minimal hassle.
First Step
To open the Paint tool, tap on the “Start” button, then search “Paint” and click on it.
Second Step
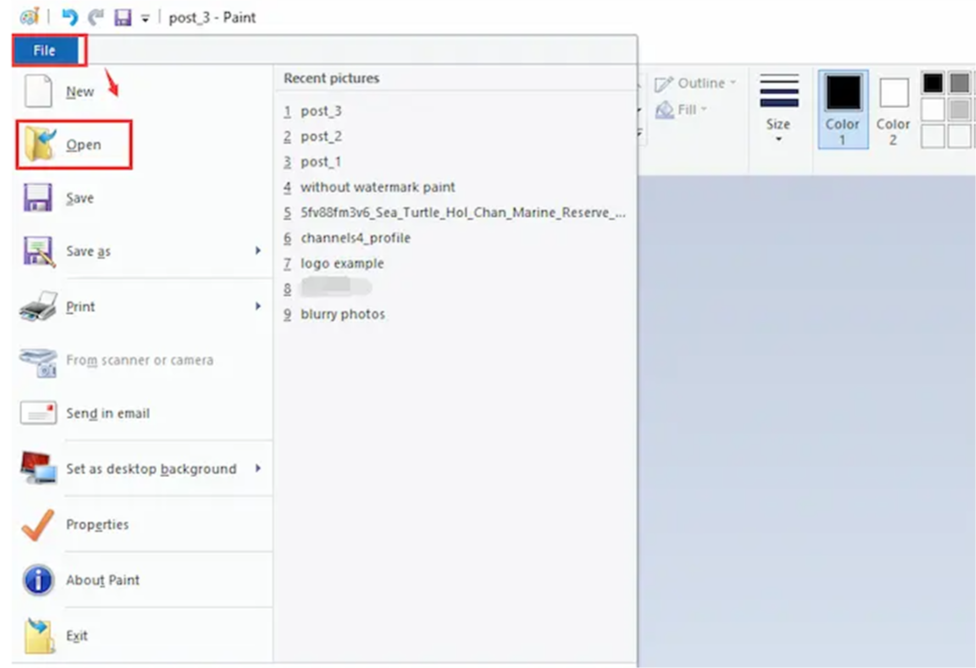
Simply click on “File” and then choose “Open” to add your PNG file in Paint.
Third Step
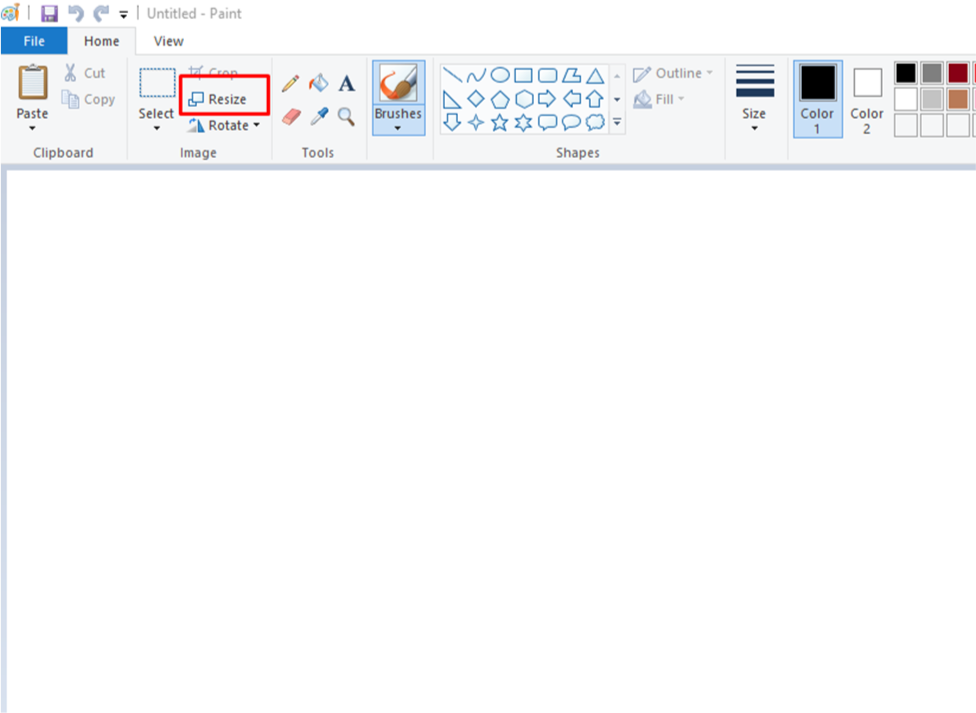
Now, select the Resize option from the top bar.
Fourth Step
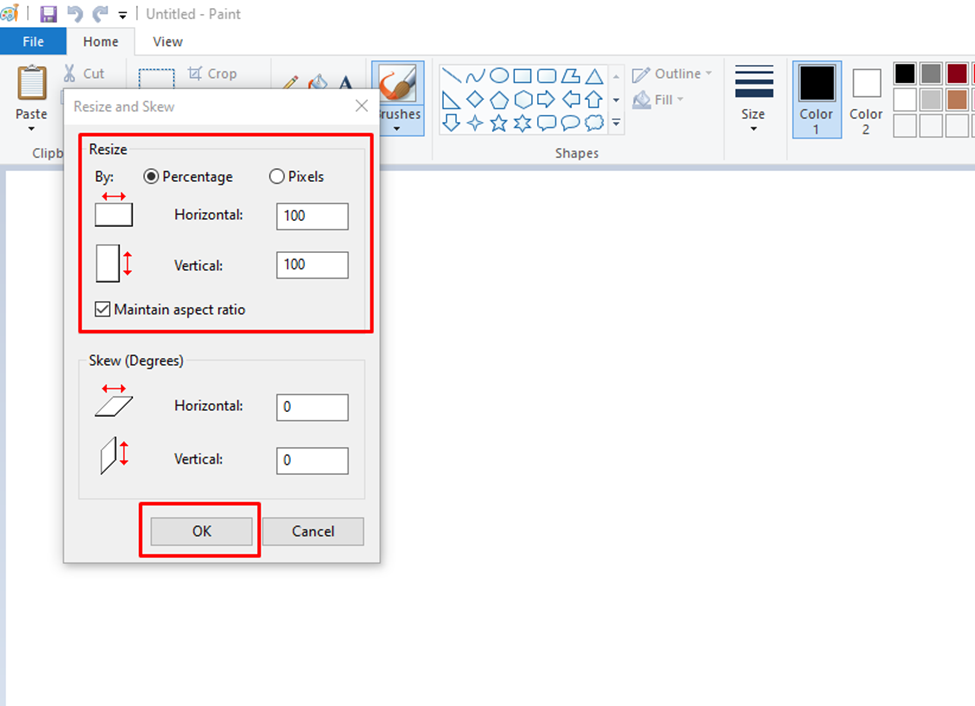
Click on either Pixels or Percentage to alter the numbers in the Vertical and Horizontal boxes. Finally, click OK to apply the changes.
Fifth Step
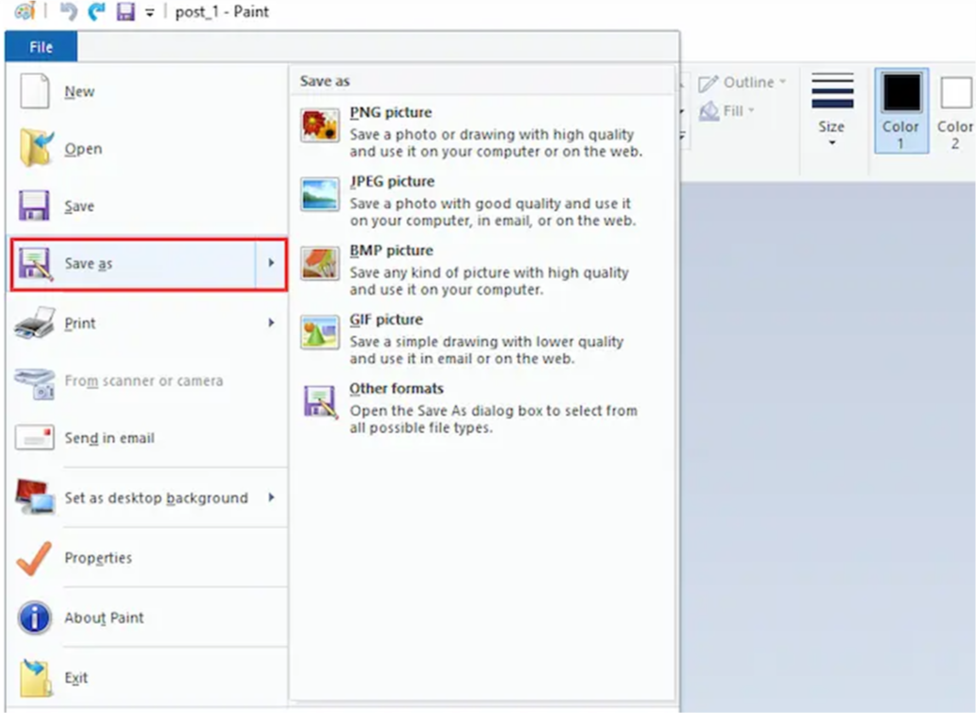
Finally, click on “File,” then select “Save as” and pick your desired export format.
How Can You Make A PNG File Smaller in Adobe Photoshop?
Photoshop stands out as one of the top choices for reducing PNG file sizes on Windows and Mac operating systems. Unlike basic image editing software that comes with Windows or Mac systems, Adobe Photoshop provides additional features to compress a PNG file.
You can customize the compression settings to fit your requirements while preserving the quality and transparency of your PNG pictures. Along with compression, Photoshop allows you to add or remove watermarks, crop, rotate, edit, and perform various other tasks with PNG pictures. Here, we will discuss two processes for reducing the size of a PNG file in Photoshop.
1st Process
Step 1
Open the PNG picture in Adobe Photoshop. Then, you can consider making a copy of the picture before making any changes (this step is optional). This way, you can always go back to the original if needed. Doing so allows you to revert to the original image if necessary.
Step 2
Navigate to “File,” then select “Export,” followed by “Export As.”

Step 3
Now, select “PNG” as the format.
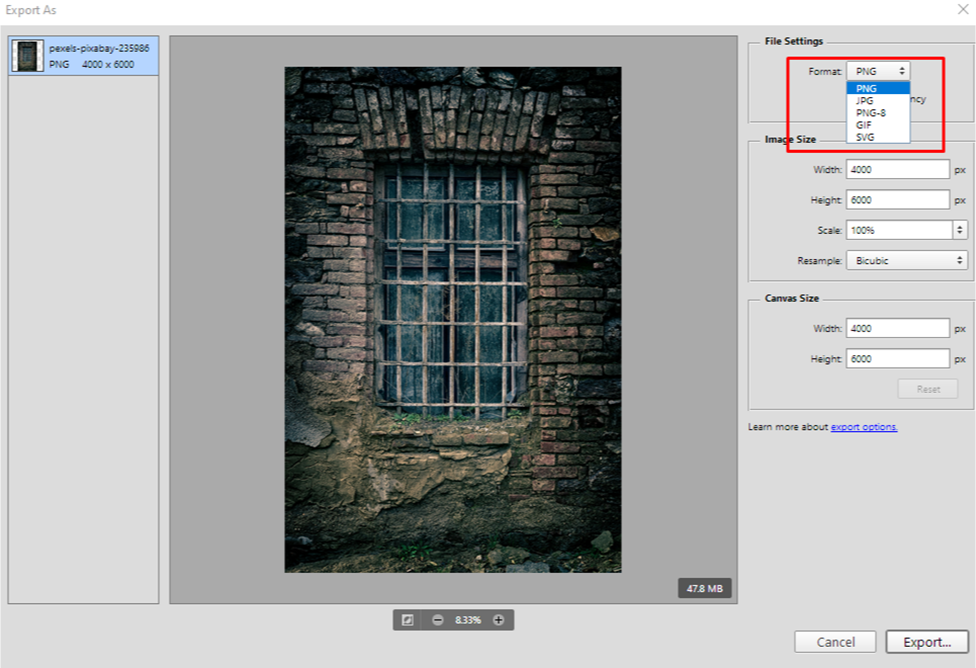
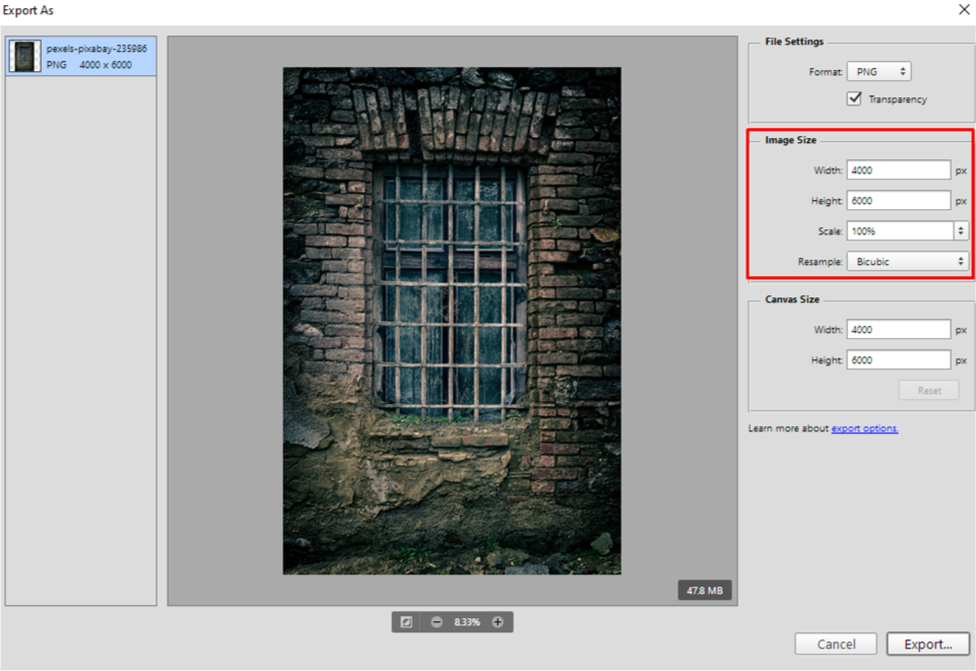
Step 4
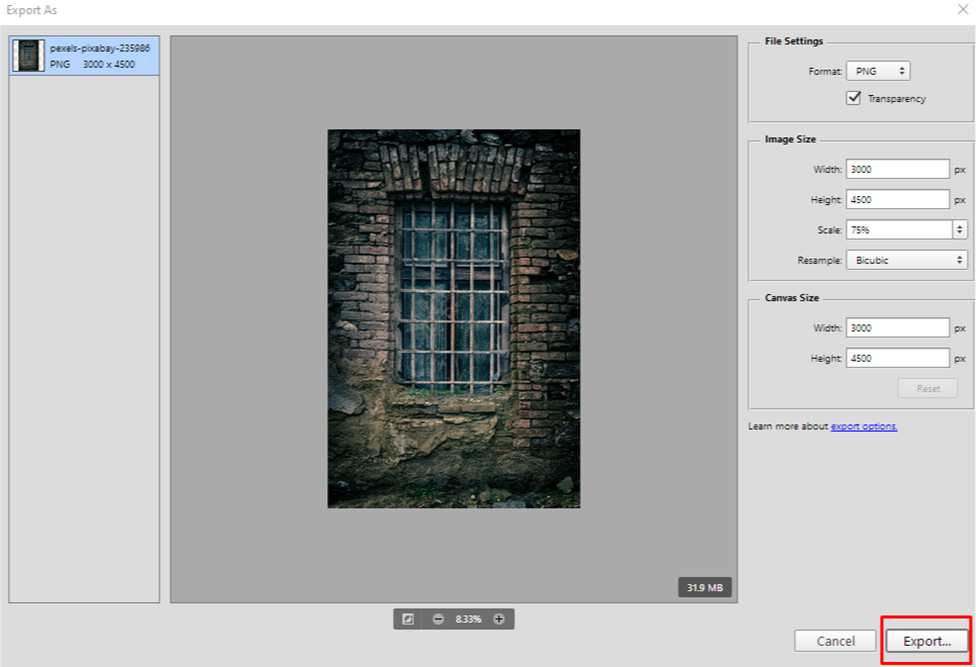
You’ll get settings for PNG export. Reduce the height, width, and scale in the Image Size box to shrink the PNG file.
Step 5
Press the Export button and save the PNG file.
2nd Process
Step 1
To reduce the size of your PNG file, open it using Adobe Photoshop. You can simply drag and drop the PNG photo into Adobe Photoshop. Also, you can go to File, then select Open, and locate the image file on your computer.
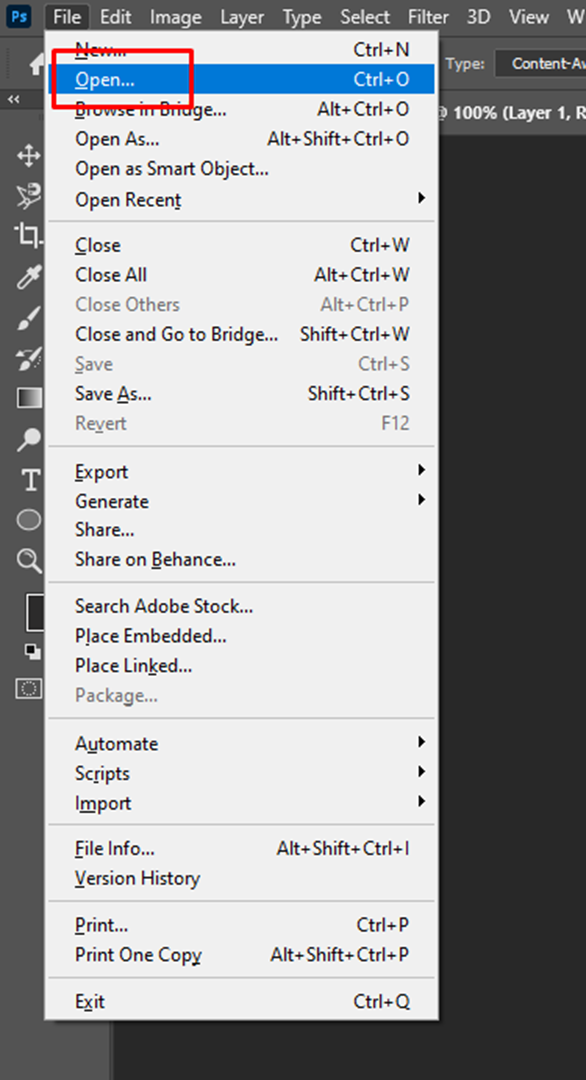
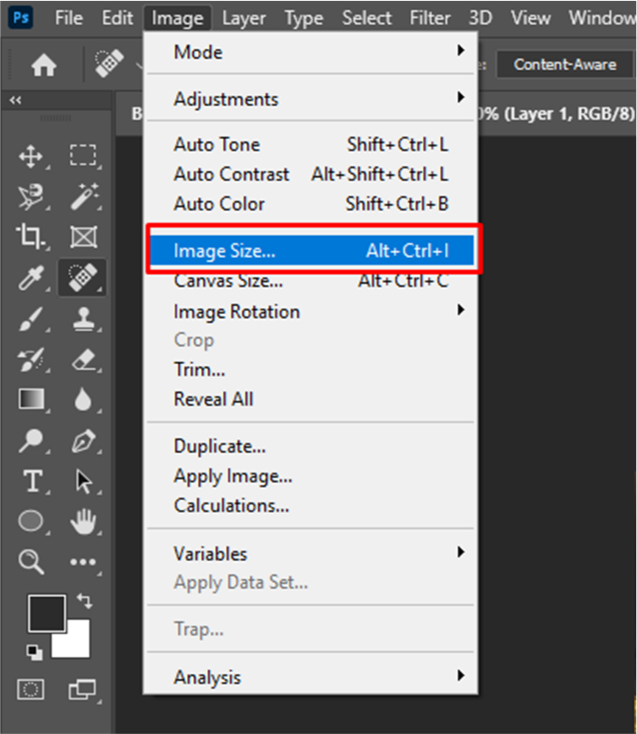
Step 2
Either click on “Image” in the menu bar and then select “Image Size,” or you can simply press Ctrl+Alt+I on your keyboard.
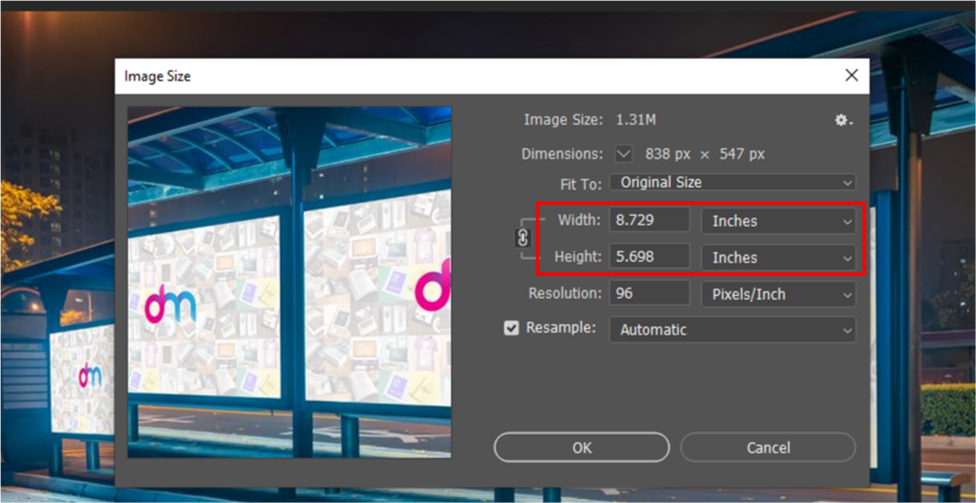
Step 3
In the Image Size box, lower the Width or Height of the image to make it smaller.
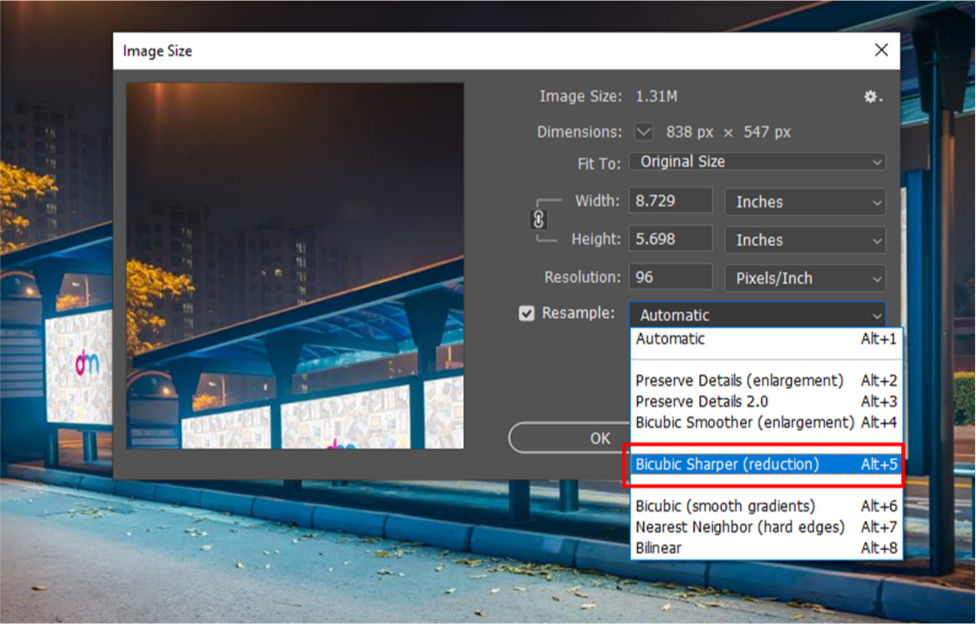
Step 4
Press the Resample button, then select Bicubic Sharper from the dropdown menu to retain the sharpness of the picture when reducing its size.
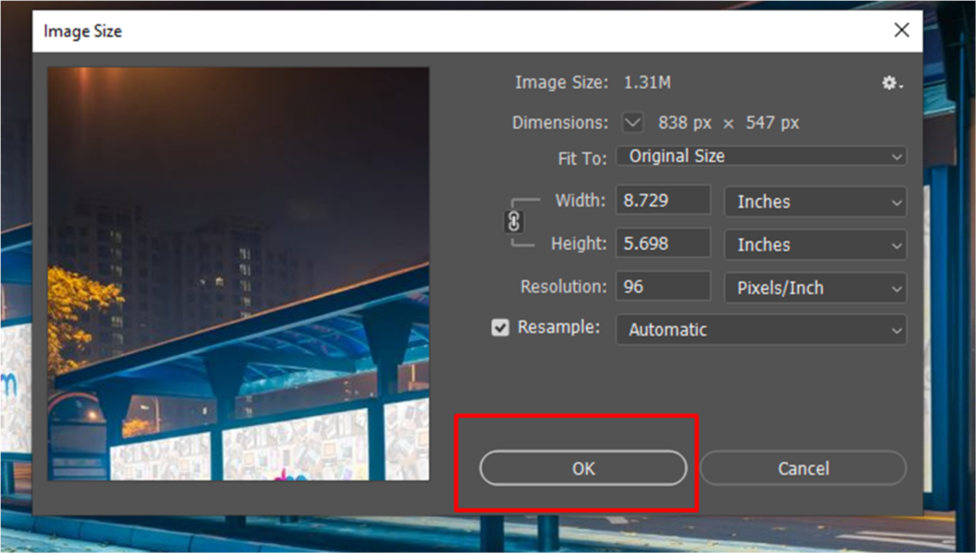
Step 5
Press the OK button to close the Image Size box and save the changes to the image.
How Can You Reduce The File Size of PNG in Adobe Illustrator?
If you want to address PNG compression issues using Adobe software, Illustrator is the perfect tool for you. Adobe introduced this software back in the last century. With continuous upgrading and optimization, Adobe Illustrator has become the top pick for people looking to craft PNG vectors, posters, logos, and more.
Reducing PNG file sizes is a key feature of Adobe Illustrator. You can shrink a PNG file in a few seconds with it.
1st Step
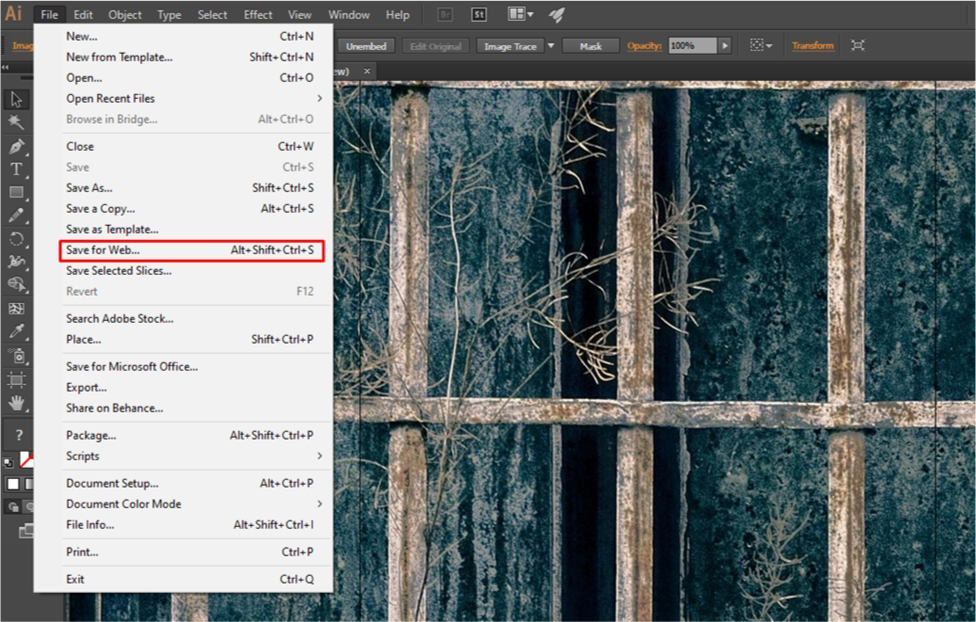
Open the PNG photo in Adobe Illustrator. Then, tap on File and select Save for Web. You can also press Alt + Shift + Ctrl + S on your keyboard.
2nd Step
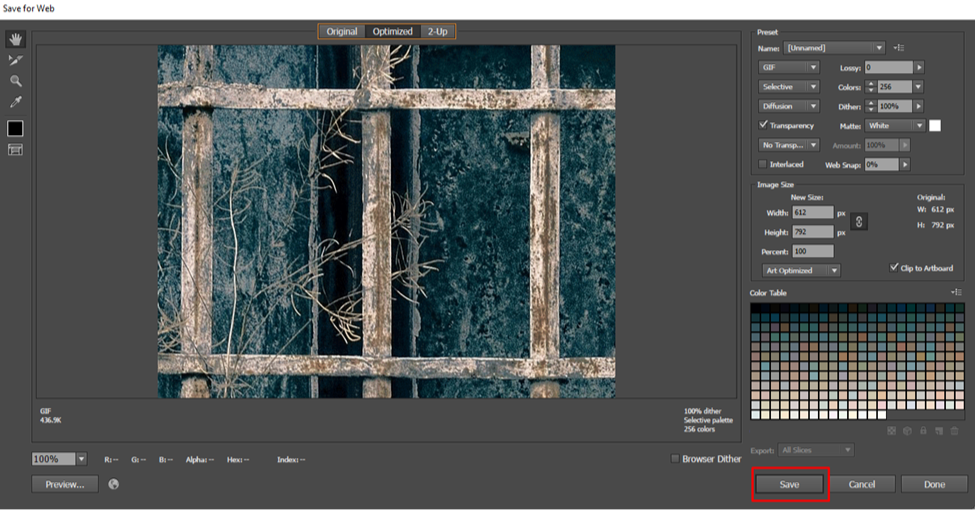
Next, you can reduce the image size and adjust the Preset settings in the newly opened window. This will make the PNG file smaller.

3rd Step
Once you have made all the necessary adjustments, simply press “Save” to retain your PNG file in a smaller size.
Final Thoughts
How to make a PNG file smaller on your computer? If you’ve carefully read this article, you won’t struggle with this problem anymore. Knowing how to shrink PNG files without compromising quality and transparency is crucial for designers, web developers, and anybody who works with visuals online.
By reducing PNG file sizes, you can speed up web page loading times, enhance user experiences, and optimize storage usage. The key to effective compression is finding the correct balance between smaller PNG file sizes and preserving PNG image quality. With the methods discussed in this article, you can achieve optimal performance without losing the visual integrity of your PNG photos.