PNG is a popular image format that is used for various purposes, but sometimes, you might need to resize it. You might need to resize a PNG file before uploading it to your online store, blog, or website or just when sharing it with your loved ones.
Learning how to resize a PNG file can be valuable for graphic designers, web developers, and anybody who wants to adjust the size of a picture without losing its quality. Also, resizing a PNG file simplifies tasks like attaching images to emails or uploading them online.
There are many different ways that you can use to resize a PNG image. You can use built-in Windows software or online software. We will explore each method and discuss its pros and cons to help you decide which one best suits you.
Why Do You Need to Resize PNG Images?
The PNG format stands out as the top choice when you are required to edit images. There are plenty of reasons why you may like to resize a PNG image. It could be for publishing purposes or for your e-commerce site’s purposes. Also, when it comes to graphics, resizing PNG images works great for getting high-quality results.
How Can You Resize A PNG File?
You can resize a PNG image using various methods. We will discuss two easy and free methods here. Let’s check them out.
Process of Resizing A PNG File Using Adobe Express Online
Adobe Express Online is a handy tool for editing media, allowing users to resize PNG files effortlessly and quickly. While it’s an excellent tool for resizing PNG images, its restrictions on formats and file size might not suit those with very specific needs. Follow this step-by-step guide to learn how to resize the size of a PNG image.
You’ll want to get the finest online software to enlarge or shrink the size of the PNG image that you’re working on. An image is made up of many pixels, and they get affected when you enlarge or shrink it. If you want to get a clear picture after enlarging, go for one with a high resolution. When you enlarge an image, its resolution goes down, but it goes up when you shrink it.
If the picture resolution is low, then the final image will look grainy or blurry. But if the resolution is very high, the file size increases a lot. One big reason for resizing PNG pictures in the graphic design sector is to make them fit the purpose. Images carry various meanings. The main objective of resizing a PNG picture is to reinforce the image’s descriptions and details.
1st Step
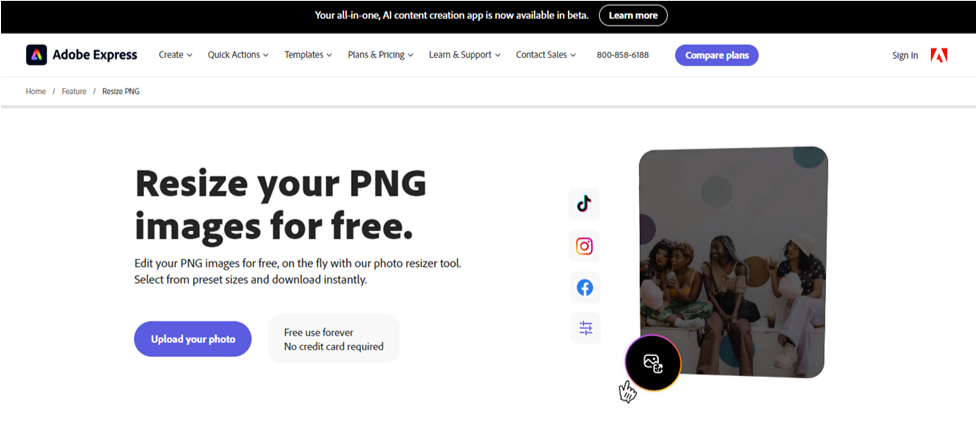
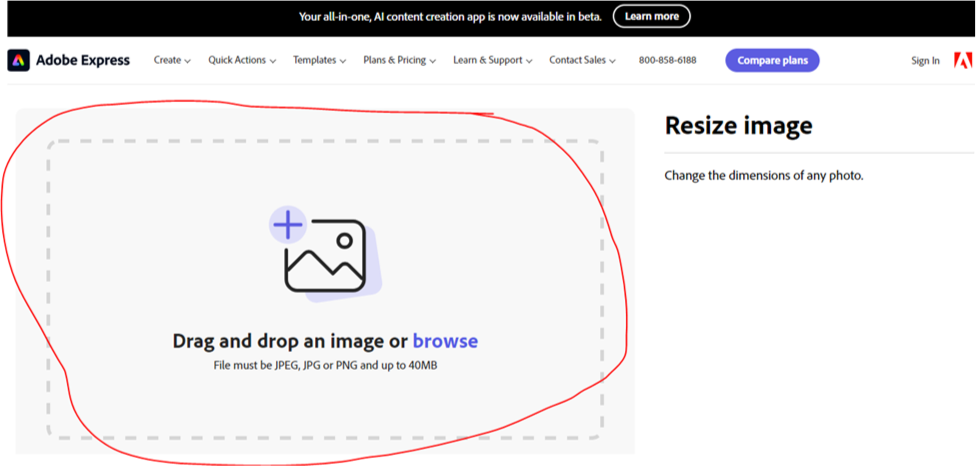
Navigate to the Adobe Express Online’s Resize PNG page.
2nd Step
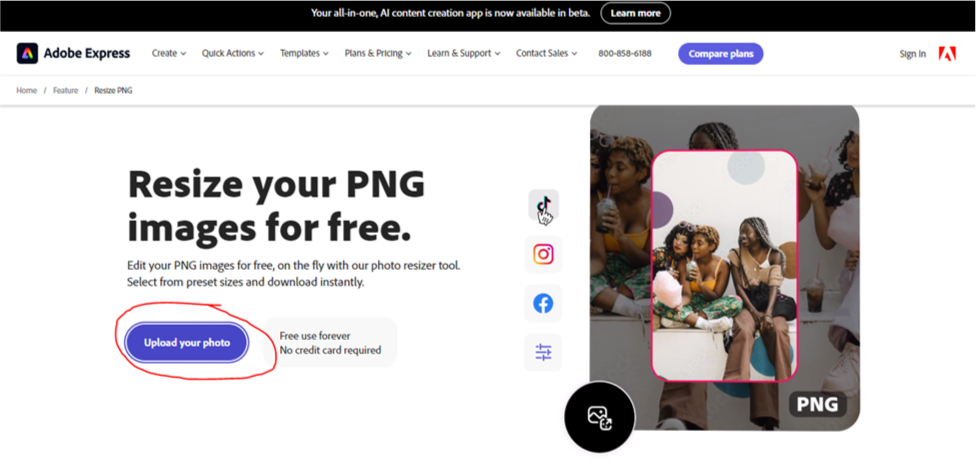
Press the blue button that is labeled “Upload your photo” to upload your PNG image.
3rd Step
Open the PNG file that you want to resize from your device, or drag and drop it.
4th Step
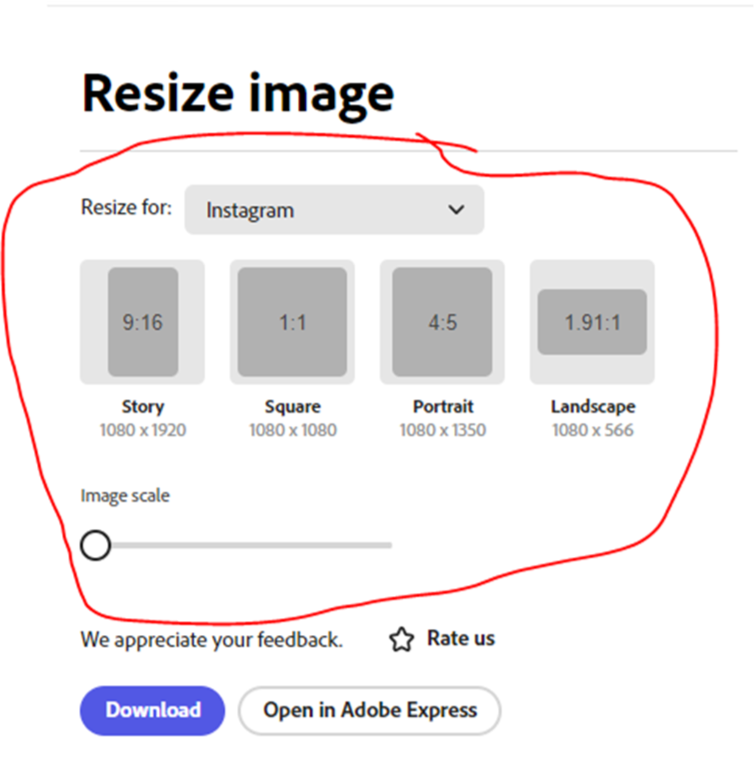
Now, select a size template or input your preferred dimensions.
5th Step
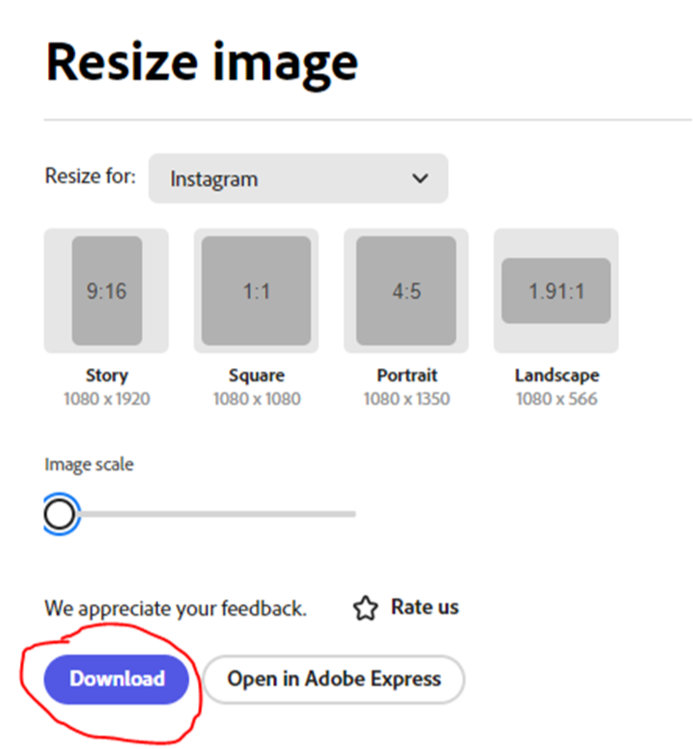
Finally, sign in to Adobe Express Online to download your resized PNG file instantly. If you want, you can also keep editing the PNG image.
Advantages of Using This Process
Integration with Other Adobe Applications: This PNG image resizer integrates well with other Adobe applications. Once you have resized the PNG file, you can easily open it in an image editor.
Easy to Use: Adobe Express Online’s PNG image resizer has a simple interface that anyone can use. It is designed to be easy for people who might not know a lot about design.
Allows Online Access: This platform works in the cloud, so you can use it from any device with an internet connection. You are not limited to one device when you are working on your projects.
Disadvantages of Using This Process
No Batch Conversion Available: There is no batch conversion available in the Adobe Express Online platform. If you have several PNG images, you’ll need to resize each one individually.
Supports Limited Format: The PNG image resizer can only resize images in PNG, JPEG, or JPG formats.
Limitation of Size: This PNG image resizer lets you resize PNG pictures that are up to 17 megabytes in size.
Process of Resizing A PNG File Using Windows
Step 1
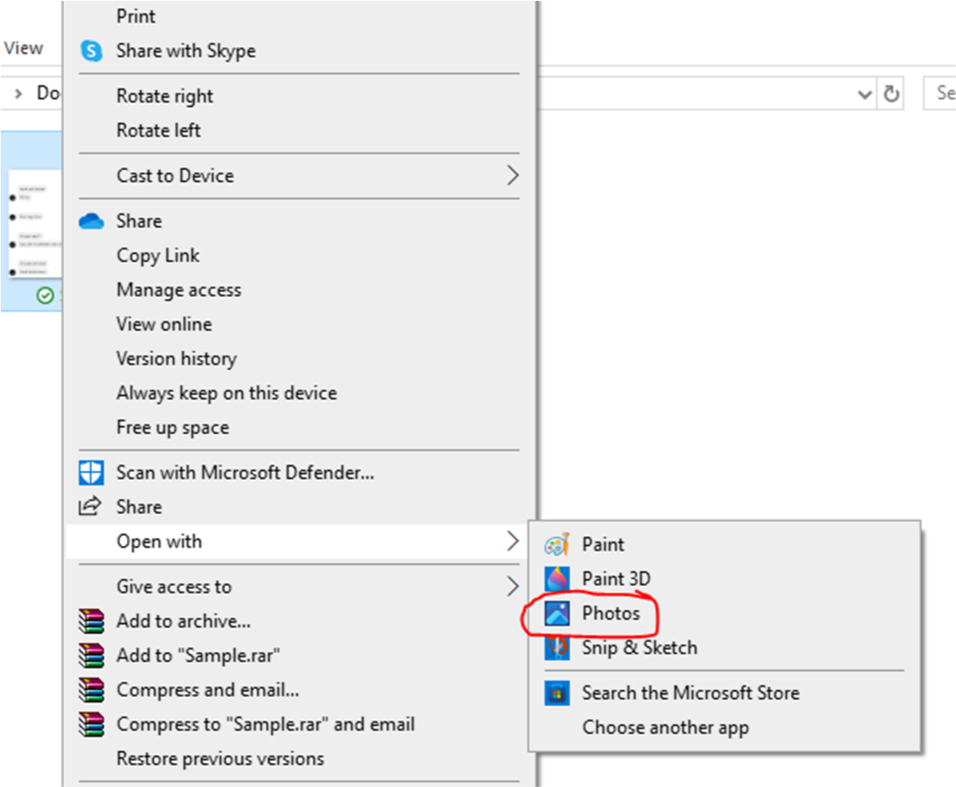
To start, right-click on the PNG picture. Then, you need to click on “Open With” and choose “Photos.”
Step 2
Press the Three-Dot button found on the top-right side of the application.
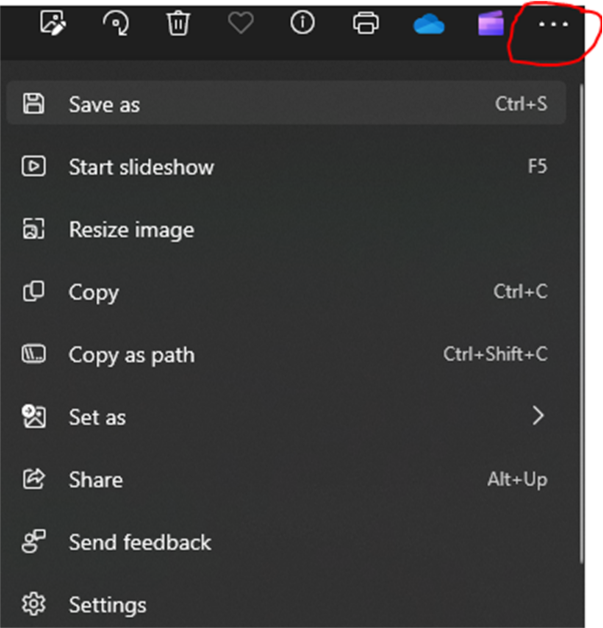
Step 3
Click the “Resize image” option from the drop-down menu.
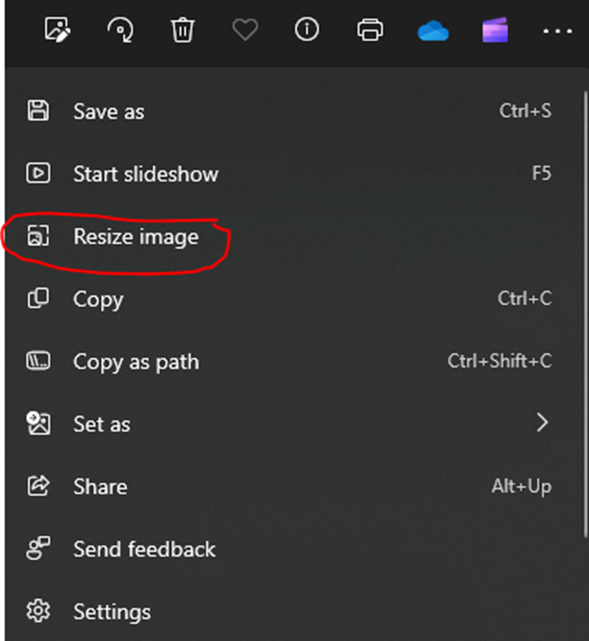
Step 4
After clicking on the “Resize image” button, you will see a pop-up window automatically appear.

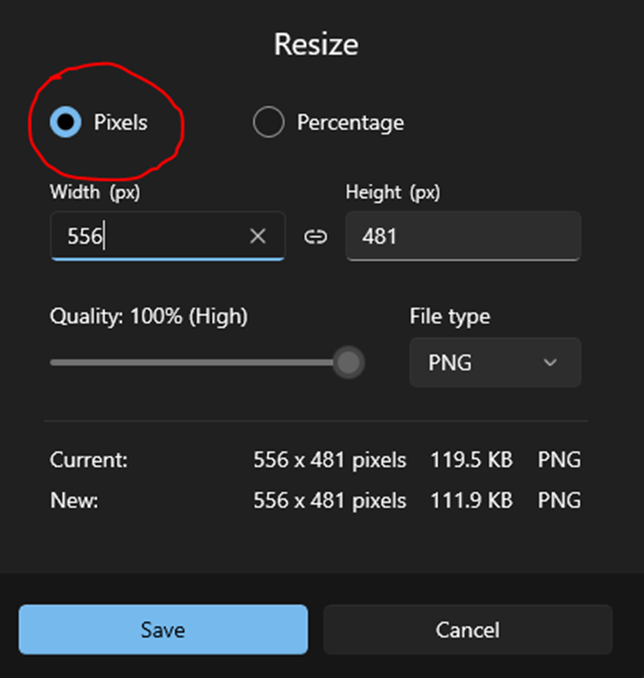
Step 5
On the top-left corner of the screen, you can change the width and height in pixels.
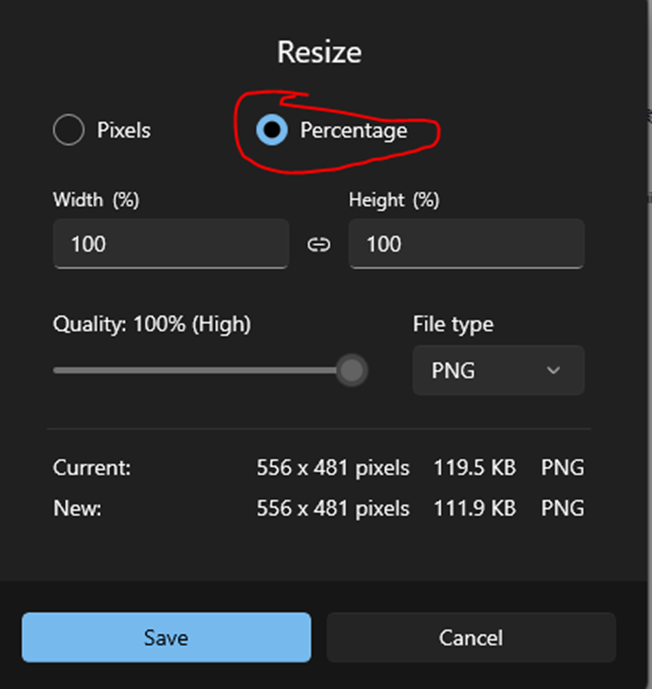
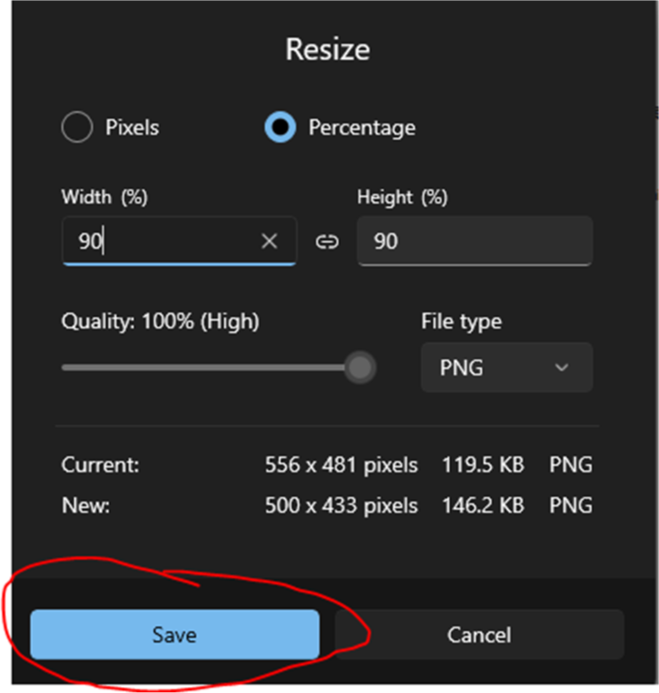
Step 6
In the top-right corner of the screen, you can change the height and width by percentage.
Step 7
Finally, press the Save button to complete the resizing procedure and store the final picture on your computer.
Advantages of Using This Process
Very Efficient: This process is very efficient because you only have to press the Resize Image button once.
Quick Process: The procedure of resizing PNG images is very quick.
Easy Process: This process of resizing PNG images is very easy as you don’t need to install any software.
Disadvantages of Using This Process
Complex Process: The whole process is complex, which can be tough for individuals who aren’t tech-savvy.
Final Words
Learning how to resize a PNG image is a valuable skill for both professional and creative projects. Whether you are resizing an image for a website or refining your digital portfolio, having the right tools can ensure your pictures leave a lasting impression.
You can easily resize your PNG images by following the easy steps discussed in this article. Take a look at the process, advantages, and disadvantages of the two methods that we described here, and then choose the one that suits your needs best.